Pin It
 The first time my hands felt Moroccan flour was at my neighbor's kitchen table on a Saturday morning, watching her grandmother stretch dough so thin I could see light through it. She never measured anything, just moved with the confidence of someone whose hands had memorized a thousand breakfasts. Years later, I finally understood what she was doing, and now msemen is the pastry that makes my kitchen smell like somewhere I've never been but somehow remember.
I made these for a group of friends who'd never had them, and watching someone take that first bite, eyes widening as honey dripped down their chin, I realized this pastry carries something beyond technique. It's a small conversation between your hands and the dough, and somehow that conversation translates to whoever eats it.
Ingredients
- All-purpose flour: This is your foundation, and it needs to be fresh enough that it doesn't smell dusty when you open the bag.
- Fine semolina: Not coarse cornmeal—this is the secret to those impossibly thin, crispy layers that shatter when you bite them.
- Warm water: Temperature matters more than you'd think; too cold and the dough fights you, too hot and it becomes sticky and confused.
- Instant yeast (optional): A small amount gives you lighter, airier pastries without the long fermentation some versions require.
- Vegetable oil and melted butter: The combination of both creates layers that are somehow both delicate and substantial.
- Honey for serving: Warm it gently so it pools into the pastry rather than sitting on top like an afterthought.
Tired of Takeout? 🥡
Get 10 meals you can make faster than delivery arrives. Seriously.
One email. No spam. Unsubscribe anytime.
Instructions
- Mix and rest your dough:
- Combine your dry ingredients, then add warm water slowly while mixing, feeling for that moment when the dough becomes soft and elastic rather than shaggy or stiff. Knead for a full ten minutes even when your arms get tired, then cover it and let it rest—this isn't laziness, it's where the magic begins.
- Divide into workable portions:
- Eight equal balls are easier to manage than you'd think, especially if you oil your hands generously so the dough slides rather than sticks.
- Stretch into translucent circles:
- This is where patience earns its keep; use oiled hands and stretch gently from the center outward, rotating as you go, until you can almost see through the dough. It will feel impossibly thin and you'll worry it will tear, but it won't.
- Layer with butter and semolina:
- Brush melted butter across the entire circle, sprinkle semolina generously, then fold all four sides toward the center to create a rough square, brushing and sprinkling with each fold. Each layer is what will make the final pastry sing.
- Let them rest briefly:
- Five minutes gives the folded squares time to relax and accept their new shape without springing back at you in the pan.
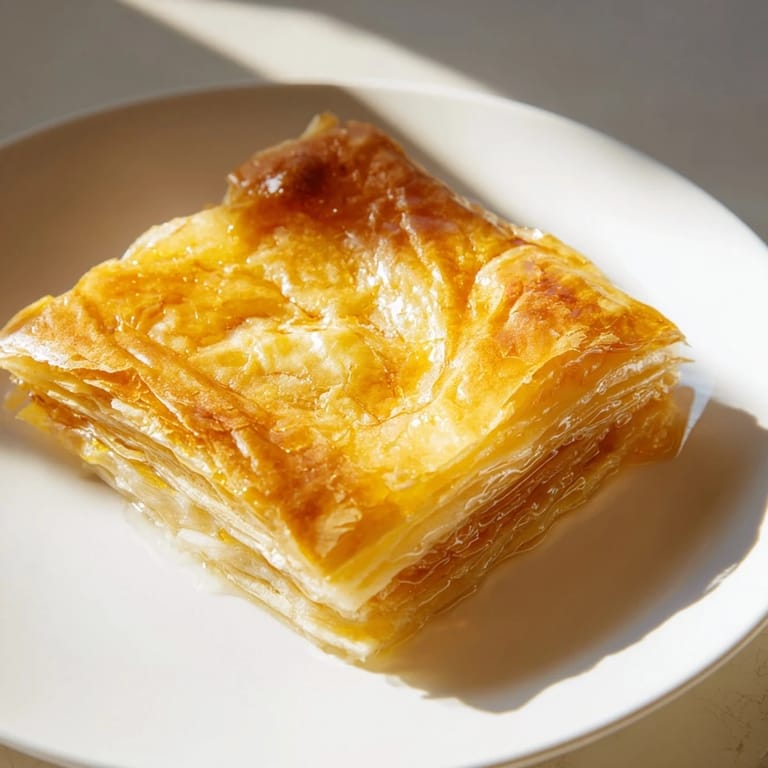
- Flatten and pan-fry:
- Heat your skillet until a drop of water sizzles immediately, then gently press each square to about a quarter-inch thick and fry until the surface turns golden and crispy, about two to three minutes per side. Listen for the quiet crackling sound that tells you everything is working.
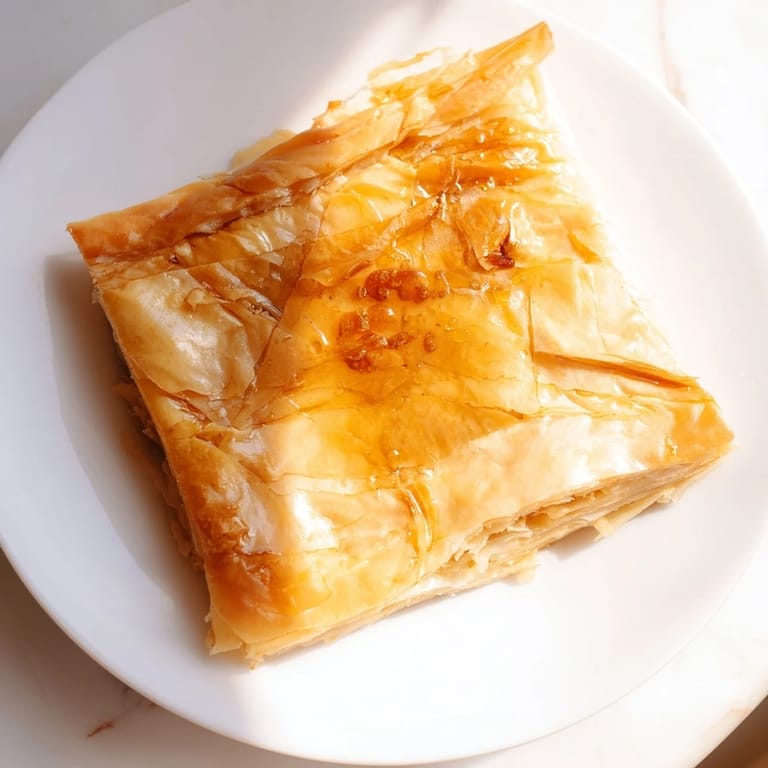
- Serve immediately with warm honey:
- The moment when warm pastry meets warm honey is non-negotiable; this is not something to save for later.
 Pin It
 There's a moment, just after you fold that last corner and brush it with butter, when you realize you're not just making food—you're making something that carries memory and technique forward. That moment is why people keep making msemen generation after generation.
The Secret of the Stretch
The stretching part scared me for months before I actually tried it, because every recipe online made it sound like you needed hands forged in a Moroccan bakery to pull off. What I learned is that the dough is stronger than it looks, and your fear of tearing it is usually what makes you too timid. Oil your hands generously, work from the center outward, and let gravity help you; the dough will tell you when it's thin enough.
Oil and Butter Chemistry
The reason traditional msemen uses both vegetable oil and butter is that oil alone doesn't brown quite right, and butter alone burns before the pastry finishes crisping. Using both gives you that golden color with the delicate, shattered texture that separates a good msemen from one that tastes like fried dough. The ratio matters, but not obsessively; what matters more is that you have enough of both to encourage the dough to puff and crisp as it hits the heat.
Variations and Flavor Additions
While the plain version is beautiful, msemen is forgiving enough to accept additions if you want to explore. Some mornings call for the simple ritual of honey dripping down warm pastry, but other times you might want to brush the layers with orange blossom water or dust the semolina with cinnamon before folding. Amlou, the almond-honey spread, transforms msemen into something almost luxurious, and jam works if you're in the mood for something fruit-forward and less honey-heavy.
- Add cinnamon to the semolina between layers for warmth without overwhelming the delicate pastry flavor.
- Orange blossom water, just a whisper of it brushed with the butter, elevates the whole experience into something almost perfumed.
- Make a batch and freeze the folded squares before frying; you can fry them straight from frozen with just a minute or two extra per side.
 Pin It
 Making msemen is less about following rules and more about understanding that patience and oil are usually the answer to whatever problem comes up. Serve these warm to someone you like, drizzle them generously with honey, and watch their face change.