 Pin It
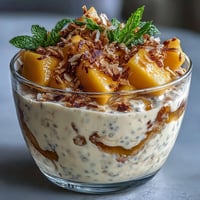
 My kitchen smelled like a farmers market in late summer when I first attempted black currant gummies, inspired by a jar my neighbor had left on my porch. She'd mentioned offhandedly that homemade versions tasted nothing like the store-bought candy, and something about that casual challenge stuck with me. What started as curiosity turned into an afternoon of gentle simmering, straining purple juice through cheesecloth, and the small victory of watching translucent gems set in silicone molds. Now they're my answer whenever someone asks what I'm working on in the kitchen.
I made these for my friend Maya's book club night last autumn, and watching everyone pause mid-conversation to comment on the flavor was worth every minute of prep. One person asked if they were imported from some fancy European confectionery, which made us all laugh—no, just kitchen magic and patience. That night taught me that homemade treats have a way of shifting the energy of a gathering, turning it from casual to special without trying too hard.
Ingredients
- Fresh or frozen black currants (1 cup, about 150 g): These little berries are the star, bursting with tart complexity that store-bought fruit candies could never capture; frozen works just as well as fresh and are often easier to find.
- Water (1/3 cup plus 1/3 cup): The first batch extracts the berry juice through gentle simmering, while the second blooms your gelatin to ensure a smooth texture without lumps.
- Lemon juice (2 tablespoons from about 1 lemon): This brightens the currants' natural flavor and prevents the gummies from tasting one-dimensional or cloying.
- Granulated sugar (3/4 cup, about 150 g): Sweetens the puree and helps the gummies set properly; don't skip this or your texture will suffer.
- Unflavored powdered gelatin (3 tablespoons, about 30 g): The backbone of your gummies; blooming it first prevents clumping and ensures even distribution throughout.
- Granulated sugar for coating (1/4 cup, 30 g, optional): A light dusting gives them a subtle sparkle and prevents them from sticking to each other during storage.
Tired of Takeout? 🥡
Get 10 meals you can make faster than delivery arrives. Seriously.
One email. No spam. Unsubscribe anytime.
Instructions
- Simmer the berries:
- Pour the black currants and 1/3 cup water into a saucepan and set the heat to medium, letting them bubble gently for 5 to 7 minutes until the skins split and release their deep purple color. You'll know they're ready when the mixture looks darker and smells intensely fruity.
- Strain for pure juice:
- Transfer everything to a fine mesh strainer set over a bowl, then use the back of a spoon to press the softened berries, extracting every drop of juice and pulp while leaving behind the skins and seeds. This step requires a bit of patience, but it's what separates silky gummies from grainy ones.
- Combine sweetness and tang:
- Stir the lemon juice and sugar into your strained puree, mixing until the sugar dissolves completely into the still-warm mixture. Taste it at this point—it should taste pleasantly tart with just enough sweetness to balance the fruit.
- Bloom the gelatin:
- Sprinkle the powdered gelatin over 1/3 cup of cold water in a separate bowl and let it sit undisturbed for exactly 5 minutes, which allows the gelatin granules to absorb the water and become spongy. This step prevents lumps when you add it to the warm puree.
- Melt gelatin into the mixture:
- Return the black currant puree to the saucepan over low heat, then add the bloomed gelatin and stir continuously for about a minute until every speck dissolves into the mixture. Keep the heat gentle—you're aiming for just warm enough to dissolve, never boiling, which would damage the gelatin's setting power.
- Mold and remove air:
- Pour the glossy mixture into silicone candy molds or a parchment-lined 8x8-inch pan, then gently tap the filled molds on the counter a few times to release any trapped air bubbles. The mixture should flow smoothly and settle without resistance.
- Chill until set:
- Transfer everything to the refrigerator and resist the urge to check on them for at least 2 hours, though overnight is better if you have the time. They're done when they jiggle slightly but hold their shape when you touch them gently.
- Release and finish:
- Pop the gummies from molds or cut the pan into squares with a sharp, damp knife for clean edges. If you like, toss them lightly in granulated sugar while they're still slightly sticky for a subtle sparkle.
 Pin It
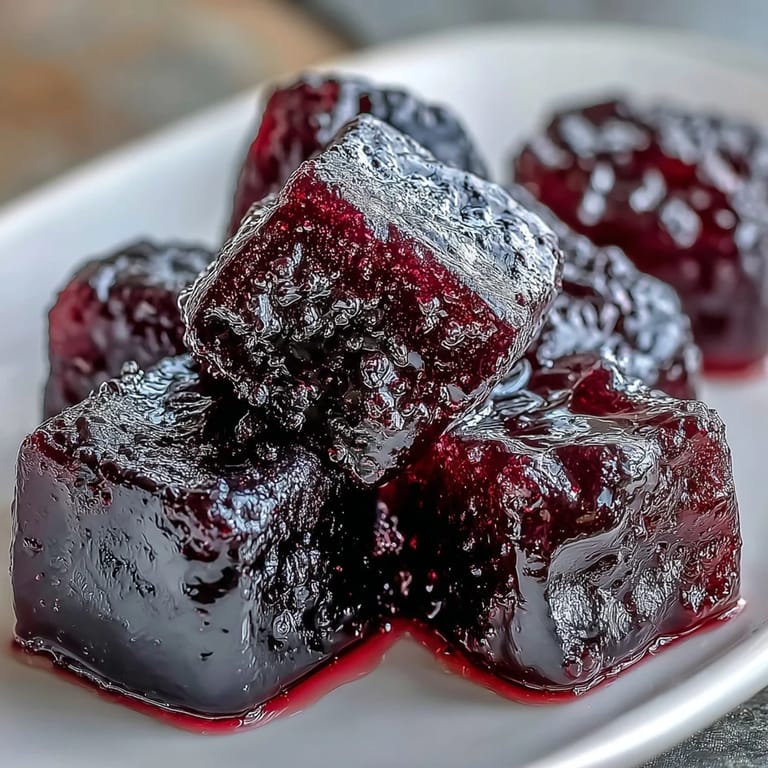
 There's a particular quiet satisfaction in unwrapping a gummy from the mold and seeing how the light passes through it—that translucent ruby quality feels almost precious for something that cost just a few dollars in ingredients. My niece now requests these instead of store-bought candy on her visits, which is the highest compliment a home baker could ask for.
Flavor Variations Worth Trying
Once you master the black currant version, the same method opens doors to other berries and flavor combinations. Raspberries create a delicate, floral sweetness, while blueberries lean more mellow and rounded; strawberries bring brightness but require slightly more lemon juice to prevent them from tasting one-note. I've also experimented with a blend of black currants and a touch of cassis liqueur for something more sophisticated, though you'd need to adjust the liquid ratios slightly since the liqueur replaces some of the water.
Storage and Shelf Life
These gummies need refrigeration because the gelatin structure loosens at room temperature, though they'll stay perfect in an airtight container for up to two weeks. I've found that storing them uncovered in the fridge for the first day after setting actually makes them firmer and less likely to stick together, then sealing them after that preserves them beautifully. If you want to gift them or stack them without them adhering, that sugar coating isn't just pretty—it's functional.
Making This Your Own
The beauty of gummy making is that it's forgiving enough for experimentation but structured enough to guarantee results. I've watched friends add a pinch of cardamom, a splash of vanilla extract, or even a whisper of rose water to their batches, and each version tasted distinctly theirs while still maintaining that perfect chewy texture. The recipe is a foundation, not a boundary, which means your kitchen can become a small-batch confectionery whenever inspiration strikes.
- If you want a vegan version, swap the gelatin for agar-agar powder at a ratio of about 1.5 tablespoons for the 3 tablespoons gelatin, though you may need to adjust boiling times since agar sets differently.
- Leftover gummies can be very gently melted down and re-poured if they're too soft or if you made a batch you want to reshape, though this works best within the first week.
- A damp knife makes cutting perfectly clean squares possible, so keep a bowl of warm water nearby and wipe your blade between cuts for professional-looking results.
 Pin It
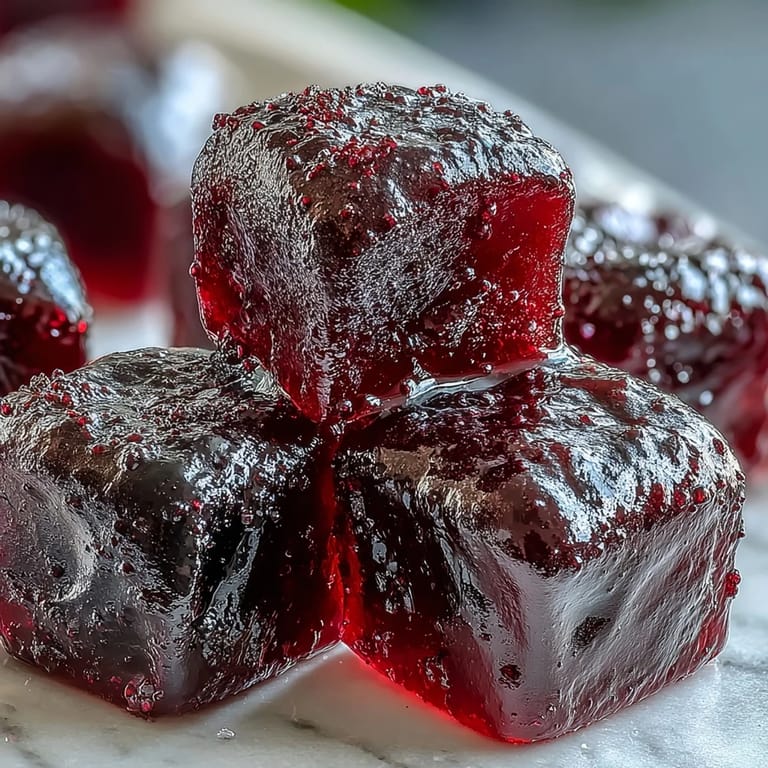
 These gummies prove that luxury doesn't require complicated techniques or exotic ingredients—just good fruit, a little patience, and the intention to make something real. Once you've bitten into one of your own, the store-bought versions will never taste the same again.
Recipe FAQs
- → How long do homemade gummies stay fresh?
When stored properly in an airtight container in the refrigerator, these gummies maintain their texture and flavor for up to two weeks. For best results, keep them chilled and consume within the first week for optimal chewiness.
- → Can I make these without gelatin?
Yes, substitute the gelatin with agar-agar powder using approximately 1.5 tablespoons. Note that the texture will be slightly firmer and less chewy than the gelatin version, and setting times may vary. Adjust water ratios as needed.
- → Why did my gummies turn out too soft or sticky?
This typically occurs if the gelatin wasn't fully dissolved or if the mixture wasn't heated sufficiently. Ensure you stir continuously over low heat until completely dissolved. Additionally, letting them set overnight uncovered in the refrigerator can help firm the texture.
- → Can I use frozen black currants instead of fresh?
Absolutely. Frozen currants work beautifully and may even release more juice during simmering. Simply thaw them slightly before cooking, and adjust the simmering time by a minute or two to ensure they're completely softened.
- → What other fruits work well in this preparation?
Raspberries, blueberries, strawberries, and blackberries all make excellent gummies. Each fruit offers unique flavor profiles and sweetness levels, so you may need to adjust sugar quantities based on the natural tartness of your chosen berries.
- → Is the sugar coating necessary?
The sugar coating is entirely optional but adds a classic candy shop finish and prevents gummies from sticking together. For a lighter version, skip the coating or dust lightly with cornstarch instead for a similar non-stick effect.