 Pin It
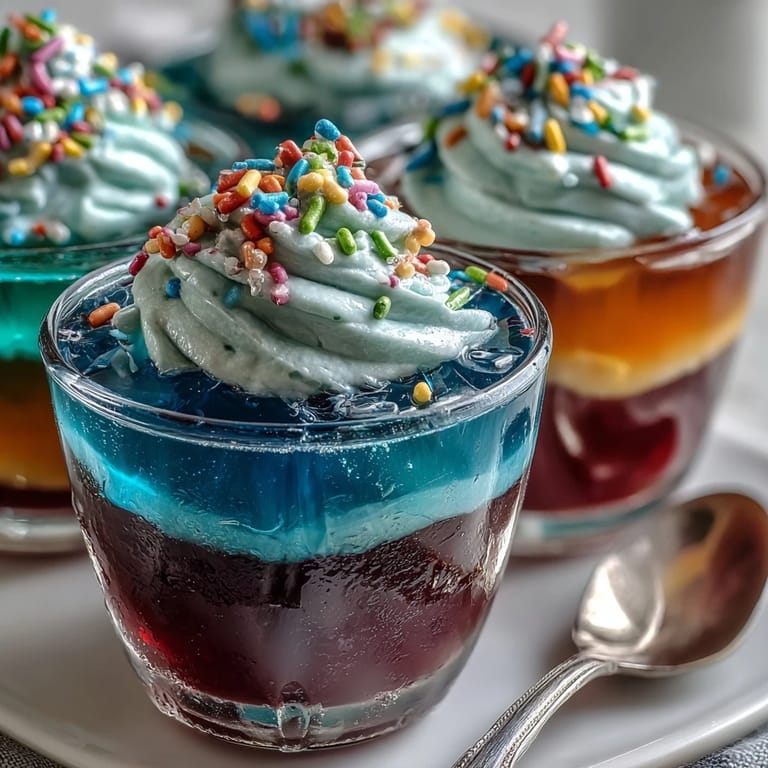
 The first time I made rainbow Jello cups, the kitchen was filled with curious chatter and bursts of laughter from my little cousin. Each vibrant box of Jello drew us in like an art project, and as we lined up the cups, the idea of layering colors felt more exciting than the end result itself. The sound of boiling water and the sweet, fruity scent reminded me that some desserts are just as fun to make as they are to eat. Watching the colors shine through the clear cups became our entertainment between fridge checks. It dawned on me then: recipes like these are about playful patience.
I still remember the kitchen counter covered in measuring cups and spoons, sticky with splashes of Jello as my nephew insisted on pouring each color himself. The anticipation built with every layer; he kept checking the fridge, convinced the Jello would set faster if he stared at it. Even when the sprinkles scattered wider than planned, their excitement never waned. It was our own version of science and celebration, all in one afternoon. That batch disappeared in minutes at the birthday party, with whipped cream smiles all around.
Ingredients
- Strawberry Jello (red): Adds a bold fruity sweetness and sets quickly; dissolve fully to avoid graininess.
- Orange Jello: Brings citrus brightness—whisk extra well to ensure even flavor.
- Lemon Jello (yellow): Offers a tangy kick and contrasts nicely with other layers; set time is key.
- Lime Jello (green): Infuses a fresh note; I suggest using ice-cold water for livelier color.
- Berry Blue Jello: Gives a summery berry hue; mix gently for a clear layer.
- Grape Jello (purple): The deepest color bottom layer; let it cool completely before stacking.
- Boiling water: Essential for dissolving each Jello packet; don't rush this step for the sake of clarity.
- Cold water: Brings the temperature down so Jello sets perfectly.
- Whipped cream or whipped topping: Makes for cloud-like finishing touch; pipe for neat swirls or swirl with a spoon for rustic look.
- Rainbow sprinkles (optional): Add festive sparkle; shake right before serving for crunch.
Tired of Takeout? 🥡
Get 10 meals you can make faster than delivery arrives. Seriously.
One email. No spam. Unsubscribe anytime.
Instructions
- Start with Purple:
- Mix grape Jello and boiling water until fully dissolved, then gently stir in cold water. Pour a thin layer into each clear cup and refrigerate until firm; you'll know it's ready when it jiggles but doesn't stick.
- Build the Rainbow:
- Repeat the mixing and chilling process for blue, green, yellow, orange, and red Jello, layering each color atop the last. Take your time pouring to avoid mixing colors, and let each layer set completely before moving to the next.
- Chill Between Layers:
- Each Jello layer needs about 30–40 minutes in the fridge, so plan for snack breaks. The cups should feel cool to the touch and beautifully transparent before adding the next color.
- Top and Decorate:
- Once the final red layer sets, crown each cup with a generous swirl of whipped cream. Sprinkle with rainbow decorations for extra joy and serve chilled.
- Serve and Delight:
- Hand out the cups and watch faces light up at the edible rainbow inside. For best results, keep chilled until just before serving.
 Pin It
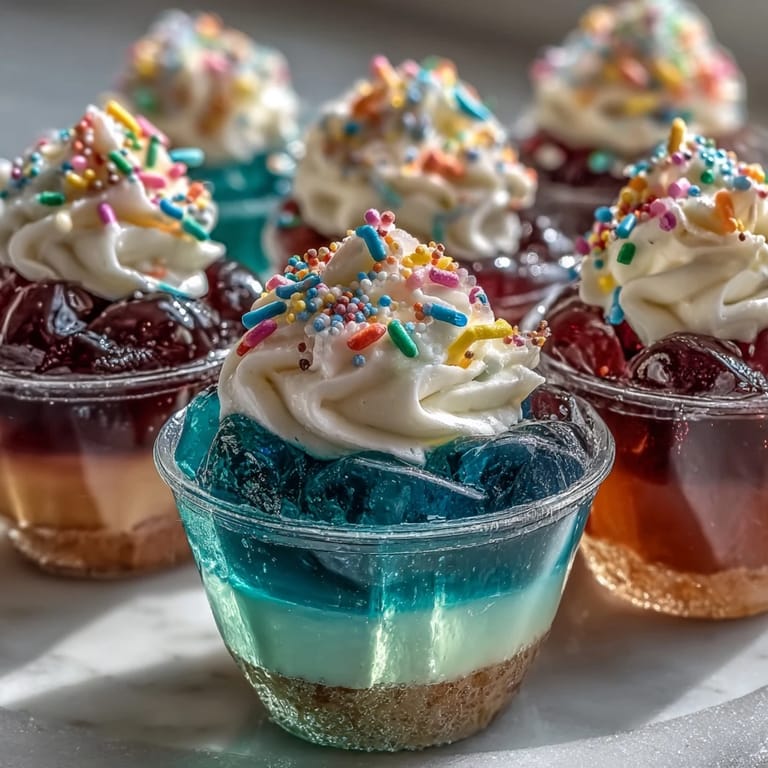
 What truly made these Jello cups special was witnessing the way kids hovered around the fridge, exchanging stories about which layer tasted best. Every cup became a masterpiece, and as they traded bites, I realized the dessert had transformed into a bright, messy invitation for joy. The rainbow wasn't just in the cups—it was in the laughter and sticky fingers. Food like this makes memories feel colorful. It was never about perfect layers, but about a shared moment that sparkled.
Choosing Your Jello Flavors
Don’t be afraid to swap out the traditional colors for ones your family likes—sometimes a raspberry layer wins over grape or pineapple takes the place of lime. Mixing brands can lead to slightly different shades, creating even more variety. Sugar-free versions work just as well and make the treat lighter for special diets. If you want pastel layers, add a spoonful of whipped cream directly into the liquid before pouring. The customization turns every batch into something new.
Making It Dairy-Free
If you need to accommodate dairy allergies, coconut whipped cream is the way to go—it has a subtle sweetness and stands up beautifully on top. Certain store-bought toppings are plant-based and just as easy to pipe, so there's no reason for anyone to miss out. Always check labels on sprinkles; some contain traces of dairy. You can swap in fresh fruit for extra flair if sprinkles aren't an option. Dairy-free or not, these cups guarantee smiles.
Quick Party Prep Tips
Prepping ahead helps when you're making multiple layers—start with the first colors and let them set while you get other party snacks ready. Keep the cups chilled on a tray so it's easy to transfer them without disturbing the layers. If accidentally over-pour happens, just let it set and spoon off the excess before adding the next layer.
- Lay out all Jello packets and tools before starting so you don’t scramble mid-recipe.
- Clear cups really show off the rainbow—glass or sturdy plastic both work.
- Let the kids help with the toppings, even if sprinkles go wild.
 Pin It
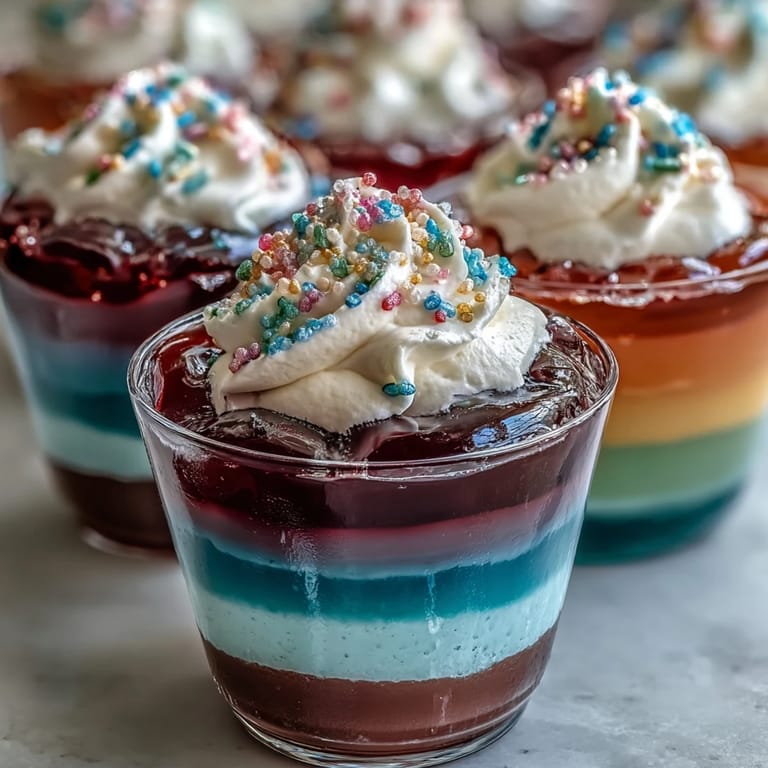
 With every batch of these rainbow Jello cups, the fun is as much in the making as in the eating. Whether you’re serving them at a party or for an afternoon treat, they're guaranteed to bring a burst of color to your day.
Recipe FAQs
- → How do you achieve distinct layers?
Each Jello flavor is prepared separately and poured into cups, allowing time to chill and set before adding the next layer. This keeps the colors clean and vibrant.
- → Can I use different Jello flavors?
Absolutely! Swap out flavors and colors based on personal preference or to match holiday themes. Both regular and sugar-free Jello options work well.
- → How long does it take to set each layer?
Setting each Jello layer requires about 30–40 minutes in the refrigerator. Patience is key to creating sharp, defined layers.
- → What toppings can be used besides whipped cream?
Try coconut whipped cream for a dairy-free option or add rainbow sprinkles, fruit slices, or chocolate shavings for extra flair and flavor.
- → Are these suitable for vegetarians?
Yes, as long as the gelatin used is vegetarian. Standard whipped toppings are vegetarian, but check labels for any animal-derived ingredients.