 Pin It
 There's something about black currants that stops me mid-thought—their deep purple-black skin catching the light like tiny jewels. I discovered this tart on a grey afternoon in a small patisserie outside Lyon, where the baker showed me how the tartness of the fruit balanced against the buttery sweetness of the crust. That balance became an obsession, and I spent weeks in my kitchen trying to recreate that exact moment of biting through crisp pastry into silky curd. The day my version finally worked, my neighbor smelled it from three doors down and invited herself over.
I made this for my sister's dinner party without telling her it was homemade, watching her face when she realized the tart shell came from my oven and not some fancy bakery box. She actually paused mid-bite, which felt like the highest compliment a cook could ask for. Now whenever she visits, this is the one thing she specifically requests, which means I've made it at least a dozen times, and honestly, I'd make it a dozen more.
Ingredients
- All-purpose flour: Use a light hand when measuring—too much flour makes the crust tough and dense instead of delicate.
- Cold unsalted butter: This is non-negotiable for a crisp, flaky texture; if your butter starts warming, pop everything back in the fridge.
- Powdered sugar: Dissolves into the dough more evenly than granulated, creating a tender crumb.
- Fine sea salt: A small amount enhances the butter flavor without making anything taste salty.
- Egg yolk: Binds the dough without making it tough the way whole eggs can.
- Black currants: Fresh or frozen works equally well; frozen actually releases their juice more readily when thawing.
- Lemon juice: Cuts through the richness and brings the fruit flavor into sharp focus.
- Eggs and egg yolk: Create the silky curd texture through gentle heat and constant stirring.
- Unsalted butter for curd: Whisked in at the end for richness and a glossy finish.
- Fresh berries for topping: Choose whatever looks best at your market—the jewel tones matter more than sticking to black currants alone.
Tired of Takeout? 🥡
Get 10 meals you can make faster than delivery arrives. Seriously.
One email. No spam. Unsubscribe anytime.
Instructions
- Make the crust foundation:
- Pulse your dry ingredients together, then add those cold butter cubes and keep pulsing until the mixture looks like breadcrumbs with some pea-sized chunks still visible. This texture is what gives you layers and crispness instead of a dense, cookie-like crust.
- Bring it together:
- Add the egg yolk and water gradually, pulsing just until the dough holds together when you squeeze it—don't overmix or you'll develop gluten and end up with something tough. If it seems too dry, add water one more teaspoon at a time until it cooperates.
- Chill and rest:
- Wrapping the dough disk and letting it sit for 30 minutes relaxes the gluten and makes rolling easier; this step genuinely matters and saves you frustration later.
- Line your pan with intention:
- Roll the dough between two sheets of parchment paper to prevent sticking, then transfer it gently to your tart pan, pressing it into the corners and up the sides without stretching. Trim the edges flush with the top of the pan.
- Par-bake until golden:
- The parchment and pie weights prevent the crust from puffing up; you'll know it's ready when the edges turn pale gold and look set. Finishing the bake without weights ensures the bottom crisps up completely.
- Cook the fruit down:
- The black currants will burst and release their juice, turning the mixture deep purple and smelling absolutely intoxicating. Stirring occasionally keeps everything moving and prevents sticking.
- Strain for silk:
- Pushing the cooked fruit through a fine-mesh sieve removes all those little seeds and skins, leaving you with a smooth purée that becomes the base of your curd. Don't skip this step—the texture difference is profound.
- Temper and thicken:
- Whisking in the eggs slowly prevents them from scrambling, and constant stirring over low heat is what transforms the mixture from loose sauce into something that coats a spoon. The moment it reaches that consistency, take it off heat immediately.
- Finish with butter:
- Whisking in the cubed butter off the heat ensures it melts evenly and creates a glossy, luxurious curd that tastes decadent. Cover the surface directly with plastic wrap to prevent a skin from forming while it cools.
- Assemble with care:
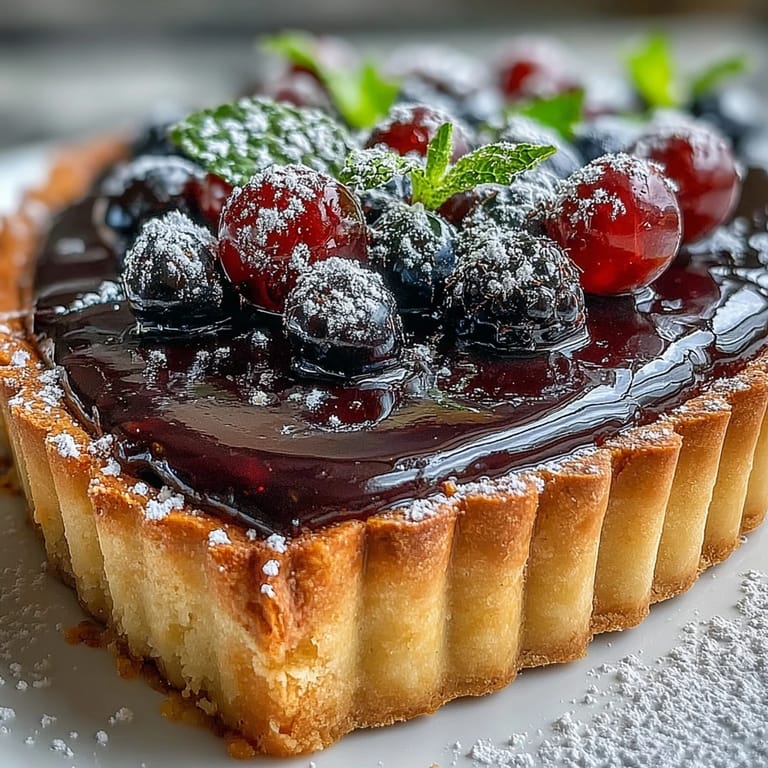
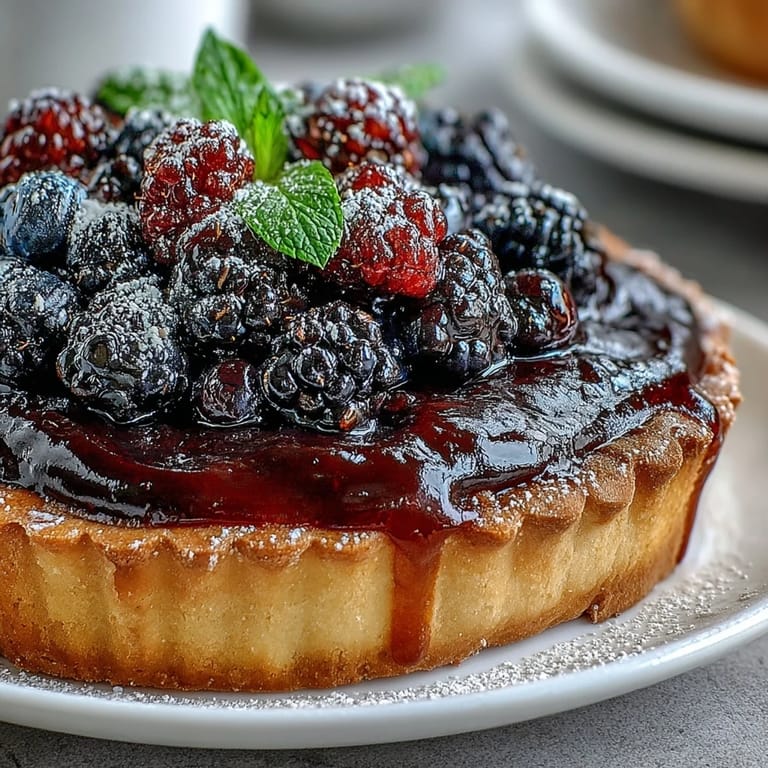
- Spread the cooled curd evenly across your baked shell, then arrange fresh berries on top in whatever pattern feels right—they'll hold better if you nestle them slightly into the curd. A final hour in the fridge helps everything set so slices stay clean when you cut.
 Pin It
 There was this moment when I pulled the assembled tart from the fridge and the afternoon light caught all those glossy berries arranged on the deep purple curd, and I realized this wasn't just dessert anymore—it was something I'd made with my hands that looked like it belonged in a window display. That feeling of making something beautiful and then watching people taste it never gets old.
Crust Secrets Worth Knowing
A tender, crisp tart crust lives or dies by temperature and technique, not magic. I learned the hard way that rushing the chilling steps means your dough shrinks in the oven, and suddenly you're looking at a tart with thin, sloped sides instead of straight edges. Now I treat those rest periods as non-negotiable, almost meditative—I use the time to prepare everything else so there's no scrambling later.
The Curd: Texture and Timing
Making curd is honestly one of my favorite kitchen moments because the transformation happens right in front of you—from fruit juice to silky sauce in minutes. The key is patience; rushing the heat or stopping too early leaves you with something runny, while overshooting leaves you with scrambled eggs tasting more like custard than curd. I always test the consistency by running a finger across the back of a spoon—if it leaves a clear trail, you're done.
Assembly, Storage, and Serving
Once assembled, this tart actually tastes better the next day because the flavors meld and the crust has time to absorb just enough moisture from the curd without getting soggy. Store it covered in the refrigerator and serve it cold or at cool room temperature with unsweetened whipped cream or vanilla ice cream alongside. The contrast between the cold tart and something warm and melting makes the whole experience feel special.
- If you can't find fresh black currants, frozen ones work beautifully and often taste more concentrated since they're picked at peak ripeness.
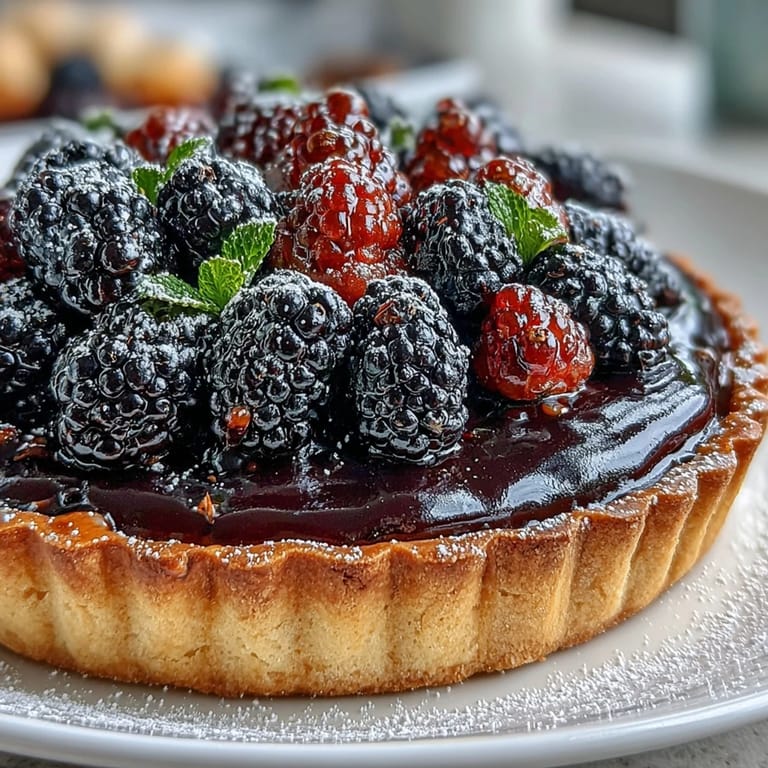
- A light dusting of powdered sugar just before serving adds visual elegance and a subtle sweetness boost if your currants leaned tart.
- This tart actually makes an impressive centerpiece for a dinner party because you can assemble it hours ahead and just add the finishing touches when guests arrive.
 Pin It
 Every time I make this tart, I'm reminded that French pastry isn't about complexity or impossible techniques—it's about respecting the ingredients and taking your time. This one's a keeper.
Recipe FAQs
- → Can I use frozen black currants?
Yes, frozen black currants work perfectly for making the curd. Thaw them before cooking and proceed with the recipe as directed. The flavor and consistency will be just as delicious.
- → How long does this tart keep?
The assembled tart is best served the same day but can be refrigerated for up to 2 days. The crust may soften slightly over time. For best results, store components separately and assemble shortly before serving.
- → Can I make this ahead of time?
The tart crust and curd can both be made 1-2 days ahead. Store the crust at room temperature wrapped tightly, and keep the curd refrigerated. Assemble the tart within a few hours of serving for optimal texture.
- → What can I substitute for black currants?
Red currants, raspberries, or blackberries make excellent alternatives. Each fruit will bring its own unique flavor profile while maintaining the beautiful presentation and creamy texture of the tart.
- → Why did my curd not thicken?
Make sure to cook the curd over low heat while stirring constantly. It needs to reach 170°F (77°C) to properly thicken. If it's still too thin after 10 minutes, continue cooking for a few more minutes.
- → Do I need pie weights?
Pie weights or dried beans help prevent the crust from puffing up or shrinking during baking. If you don't have weights, you can prick the dough thoroughly and monitor closely during baking.