 Pin It
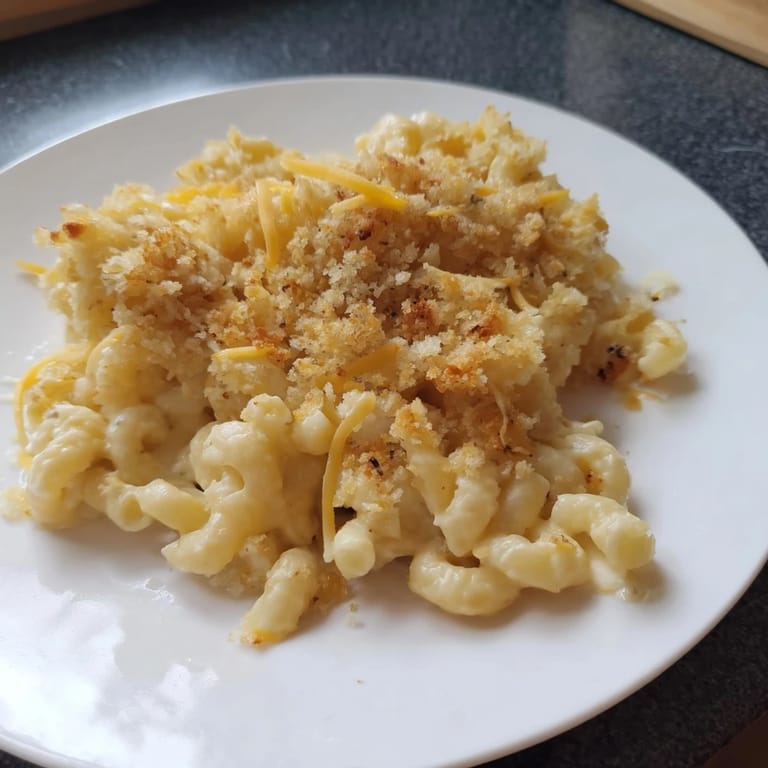
 I used to think boxed mac and cheese was the pinnacle of comfort food until my neighbor brought over a casserole dish one cold November evening. The top was crackling gold, the cheese underneath still bubbling at the edges. One bite and I realized I'd been missing out on something fundamental. That next weekend, I stood in my kitchen with a block of sharp cheddar and a determination to never settle for powdered cheese again. Now this baked version is what I make when I need to feel like everything's going to be okay.
The first time I made this for my family, my youngest kept scraping the crispy bits from the edge of the dish when she thought I wasn't looking. I pretended not to notice and made a mental note to always bake it in a wider dish next time so there'd be more of those coveted corners. My brother, who usually critiques everything, went quiet after his first bite and asked if there was more. That's when I knew this recipe had earned its place in my rotation.
Ingredients
- Elbow macaroni: The classic shape with ridges and curves that catch the cheese sauce in every bite, though shells or cavatappi work beautifully too if you want to switch it up.
- Unsalted butter: Gives you control over the salt level and adds a subtle richness to both the roux and the topping.
- All-purpose flour: The thickening agent that transforms butter and milk into a velvety base, just whisk it well to avoid any lumps.
- Whole milk, warmed: Warming it first helps it blend smoothly into the roux without shocking the mixture and creating clumps.
- Dijon mustard: A small spoonful adds a gentle tang that makes the cheese flavor sing without tasting mustardy.
- Garlic powder and onion powder: Convenient flavor boosters that melt right into the sauce, giving it depth without the bite of raw aromatics.
- Sharp cheddar cheese: The backbone of the dish with its bold, tangy punch that doesn't disappear when melted.
- Gruyere cheese: Adds a nutty, slightly sweet complexity that makes people ask what your secret is.
- Panko breadcrumbs: Lighter and crispier than regular breadcrumbs, they toast up into a golden crown that crackles under your fork.
- Parmesan cheese: Optional but worth it, adding a salty, umami boost to the topping that deepens the overall flavor.
Tired of Takeout? 🥡
Get 10 meals you can make faster than delivery arrives. Seriously.
One email. No spam. Unsubscribe anytime.
Instructions
- Prep Your Oven and Dish:
- Set your oven to 180 degrees C and give your baking dish a good coating of butter so nothing sticks later. This step feels small but it saves you from scrubbing dried cheese off the sides tomorrow.
- Cook the Pasta:
- Boil your macaroni in well-salted water until it still has a little bite, a minute or two shy of fully tender. It'll finish cooking in the oven, and you don't want it turning mushy under all that creamy sauce.
- Make the Roux:
- Melt the butter over medium heat and whisk in the flour, stirring constantly for a couple of minutes until it smells toasty and turns pale gold. This is the foundation of a smooth sauce, so don't rush it.
- Build the Sauce:
- Pour in the warm milk slowly, whisking as you go to keep it lump-free, then keep stirring until it thickens enough to coat the back of a spoon. It should feel rich and velvety, ready to hold all that cheese.
- Add the Cheese and Seasoning:
- Pull the pan off the heat and stir in your mustard, spices, and both cheeses until everything melts into a glossy, golden river. Taste it now and adjust the salt or pepper if needed.
- Combine Pasta and Sauce:
- Fold the drained macaroni into the cheese sauce, making sure every piece gets coated. The pasta should be swimming in sauce, it'll soak up some as it bakes.
- Transfer to Baking Dish:
- Scrape the whole creamy mixture into your prepared dish, spreading it out evenly. Smooth the top gently so the breadcrumbs will sit flat.
- Prepare the Topping:
- Toss the panko with melted butter and Parmesan in a small bowl until the crumbs glisten, then scatter them over the top in an even layer. This is what's going to turn golden and crunchy, so don't skip the butter.
- Bake Until Golden:
- Slide the dish into the oven and bake for 25 to 30 minutes, watching for bubbling edges and a toasted, crisp top. Let it rest for five minutes before serving so the sauce can settle and you don't burn your tongue.
 Pin It
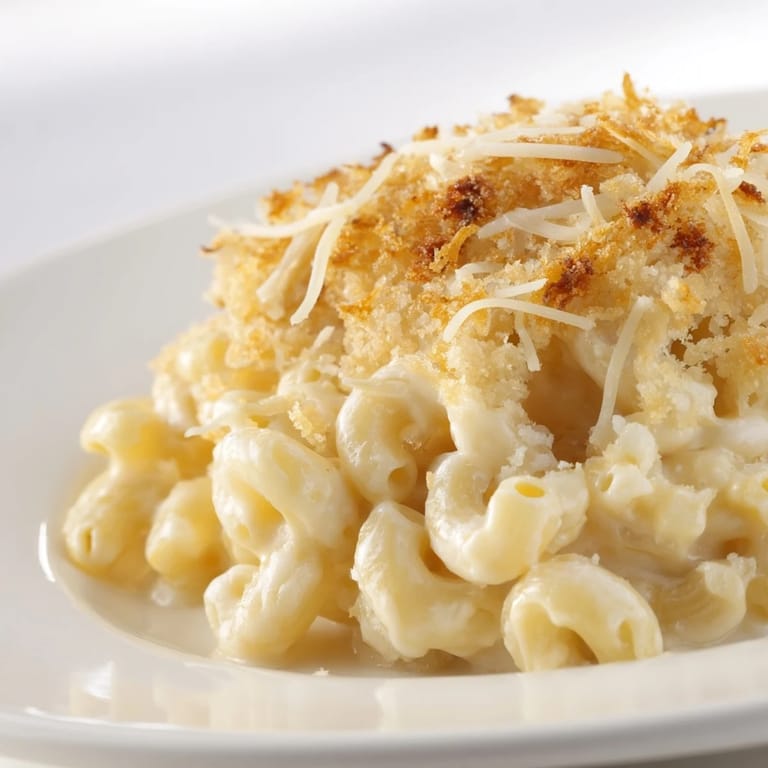
 One rainy Sunday, I made a double batch of this and brought half to a friend who'd just had a baby. She texted me later that night saying it was the first meal she'd actually sat down and enjoyed in weeks, and that the crispy top was worth fighting her husband for. Food has a way of saying things we sometimes can't put into words, and this dish always seems to say you're cared for.
Making It Your Own
I've stirred in crumbled bacon on nights when I wanted something heartier, and once I folded in sauteed mushrooms and spinach when I was trying to sneak more vegetables past my kids. A pinch of cayenne or smoked paprika in the sauce can wake up the flavor if you like a little heat. Sometimes I swap half the cheddar for fontina or add a handful of mozzarella for extra stretch, and it always turns out delicious in a slightly different way.
Storing and Reheating
Leftovers keep well in the fridge for up to four days, covered tightly so they don't dry out. I reheat individual portions in the microwave with a splash of milk to bring back the creaminess, or I warm the whole dish in a low oven covered with foil. You can also freeze it before baking, just thaw it overnight in the fridge and add an extra ten minutes to the bake time. The topping won't be quite as crisp after freezing, but the flavor stays true.
Serving Suggestions
This mac and cheese is rich enough to be the main event, but I like to serve it alongside something bright and fresh to balance the richness. A crisp green salad with a tangy vinaigrette cuts through the creaminess beautifully, and roasted broccoli or green beans add a little color to the plate. For drinks, a chilled Chardonnay complements the cheese without overpowering it, though honestly a cold glass of sparkling water with lemon works just as well.
- Pair it with a simple arugula salad dressed in lemon and olive oil for a peppery contrast.
- Serve it at potlucks in a disposable aluminum pan so you don't have to worry about getting your dish back.
- Let it cool completely before covering if you're making it ahead, or condensation will make the topping soggy.
 Pin It
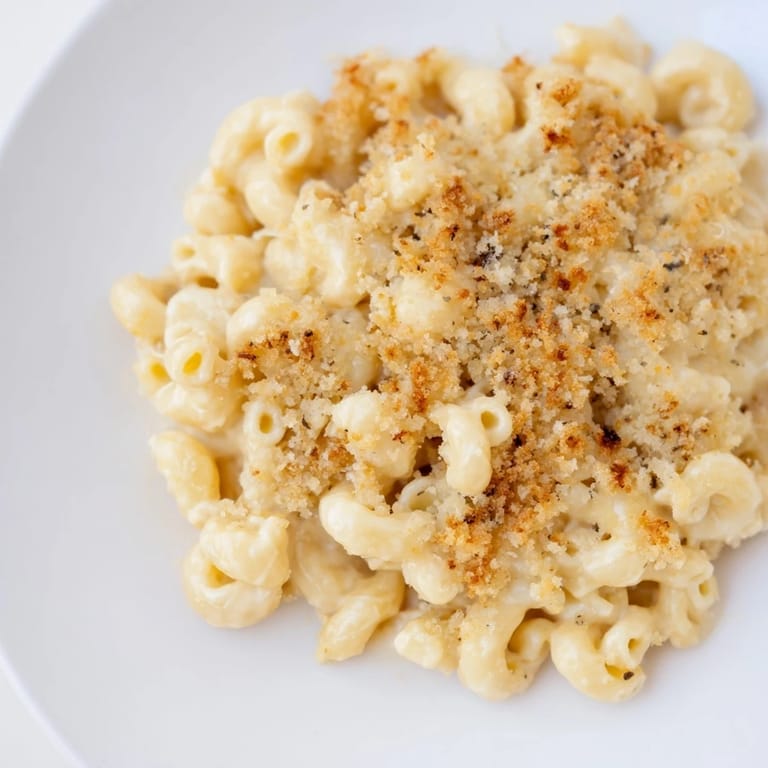
 There's something deeply satisfying about pulling a bubbling dish of mac and cheese from the oven and hearing the little gasps of anticipation around the table. It's simple, it's honest, and it never fails to make people happy.
Recipe FAQs
- → What type of pasta works best?
Elbow macaroni is preferred as it holds the cheese sauce well and bakes evenly.
- → How do I ensure a smooth cheese sauce?
Whisk flour into melted butter before gradually adding warm milk to prevent lumps. Stir until thickened before adding cheeses.
- → Can I use different cheeses?
Yes, a blend of sharp cheddar and Gruyère offers depth, but feel free to experiment with other melting cheeses for varied flavor.
- → How do I get a crispy topping?
Mix panko breadcrumbs with melted butter and optional Parmesan, then sprinkle evenly on top before baking for a golden crust.
- → What cooking temperature is recommended?
Bake at 180°C (350°F) until the top turns golden and bubbling, typically 25–30 minutes.
- → Can this dish be prepared ahead?
Yes, assemble and refrigerate before baking. Allow extra time in the oven if baked from cold.